First and foremost, the initial installation of Intuitive for PaperCut will provide English dashboards. To add additional languages, we've provided steps in this document that will add translated dashboards. This can only be performed post-installation, so the product will need to be installed before starting this article.
To use additional language packs, please contact your ASC for the associated files.
For the process of adding these dashboards, you'll first need to identify what changes you'll need to make based on your chosen language. This is because certain languages require an additional change to be made to the SQLite views. We've included a table down below that details the language/region, and whether the views need to be updated.
| Language/Region | Requires view change |
| Dutch | Yes |
| French | Yes |
| German | Yes |
| Italian | Yes |
| Polish | Yes |
| Portuguese | Yes |
| Russian | Yes |
| South Africa | No |
| Spanish | Yes |
| Turkish | Yes |
| USA | Yes |
Based on your language choice, if you do NOT require a SQLite view change, please click here to move onto the section "Importing xml language files". Otherwise, we'll proceed with adding the new views.
Adding the views
To add in your new views, firstly logon to the server hosting the Intuitive dashboard installation and stop the "Intuitive Dashboards service" via Services.
We now need to run the provided SQL script in a SQLite editor. We use SQLite Studio, which is free to use, but you can use alternate tools if you prefer.
If you use SQLite studio, you first need to add in the Papercut.db database.
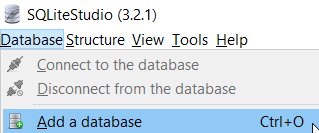
To do this, click the "Database" tab in the ribbon at the top, then select "Add a database"
Clicking the folder icon, navigate to the below directory and select the "Papercut.db" file
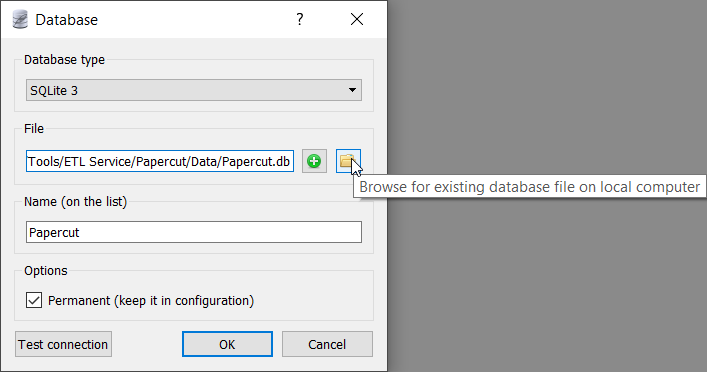
C:\Program Files\Intuitive Business Intelligence\Intuitive Dashboards\Tools\ETL Service\Papercut\Data
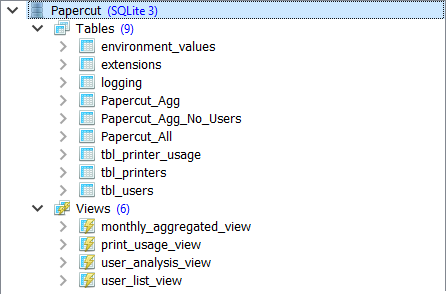
Once you've selected the file, click OK, then on the left hand side the Papercut database will be visible.
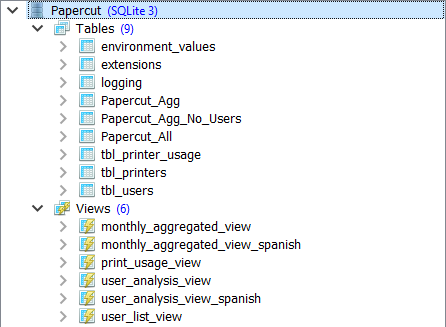
If you open the database, you'll now be able to see the current tables and views.
Open the SQL editor  (Alt+E), then open the SQL script you've copied onto the server via the
  button.
We now need to run this script, but one quirk of SQLite Studio is that the entire query needs to be selected for you to execute all of the script.
Selecting all the text via CTRL+A, execute the query with the "Play" button (F9)
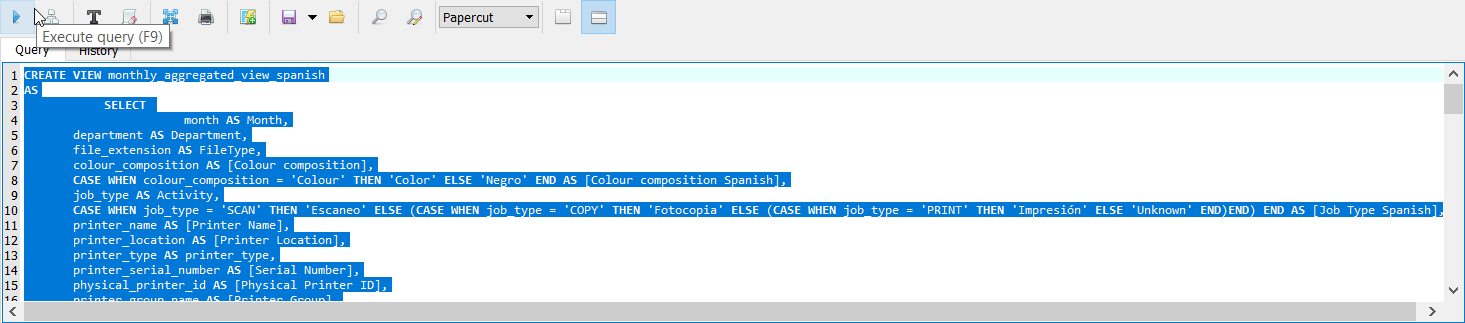
Upon successful completion, two views will have been created based on your language pack. One for the aggregated view, and the other for the user analysis view.
You can open these views and go to the "Data" tab to see your PaperCut data within the translated views.
As long as the views have been created, and there is data within them, you can now proceed into the next section.
Importing xml language files
On your desktop, launch the "Server Tool" and ensure that the "Intuitive Dashboards Service" and "Intuitive Dashboards ETL Service" services are in the stopped state.
Once they are both stopped, and the xml file extracted from the zip file, follow the below steps to import the xml:
- Click on “Import”
- Locate and select your language xml
- Import 1 of 5: Click on Next
- Import 2 of 5: Assign Entities to a User: system administrator
- Import 3 of 5: Click "Create Group"
- Choose a name for your language / region, i.e. "Polish Dashboards"
- Select your created group, such as "Polish Dashboards"
- Import 4 of 5: Next
- Import 5 of 5: Insert and wait to confirm
- You should be presented with the message "Entities imported successfully" upon completion
- Start the "Intuitive Dashboards Service" service
- Login to your dashboard, and ensure that you can view your new dashboards. They should be located under your new group name.