First and foremost, the initial installation of Intuitive for PaperCut will provide English dashboards. To add additional languages, we've provided steps in this document that will add translated dashboards. This can only be performed post-installation, so the product will need to be installed before starting this article.
To use additional language packs, please login to our partner portal over at www.weareintuitive.com
Importing xml language files
On your desktop, launch the Server Tool and ensure that the "Intuitive Dashboards Service" is the stopped.

Once the xml file is extracted from the zip file, follow the below steps to import the xml:

Click on Import

Locate and select your language xml

Import 1 of 5: Click on Next

Import 2 of 5: Assign Entities to a User: system administrator

Import 3 of 5: Click "Create Group"

Choose a name for your language / region, i.e. "Intuitive for PaperCut - FR"
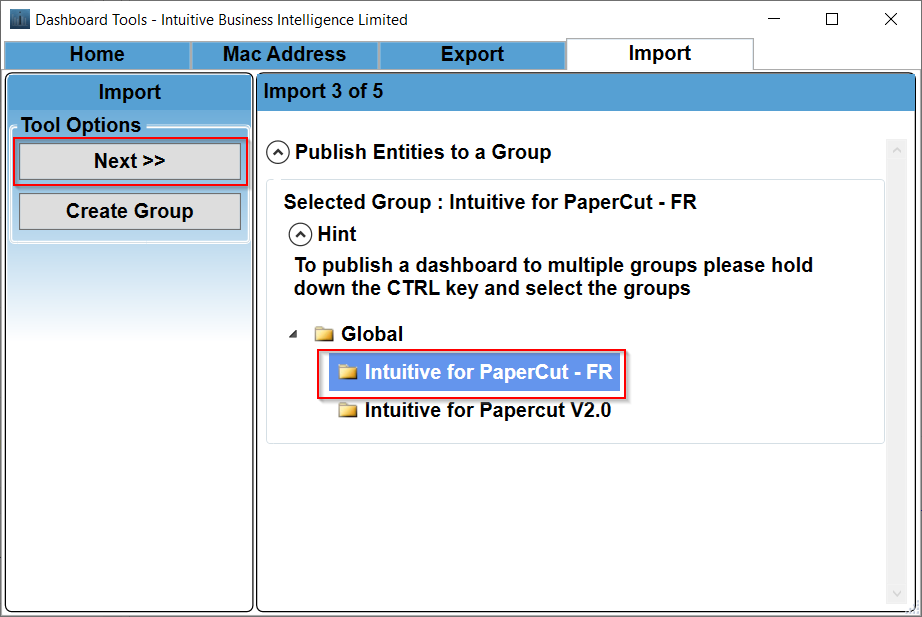
Select your created group, such as "Intuitive for PaperCut - FR", then click Next
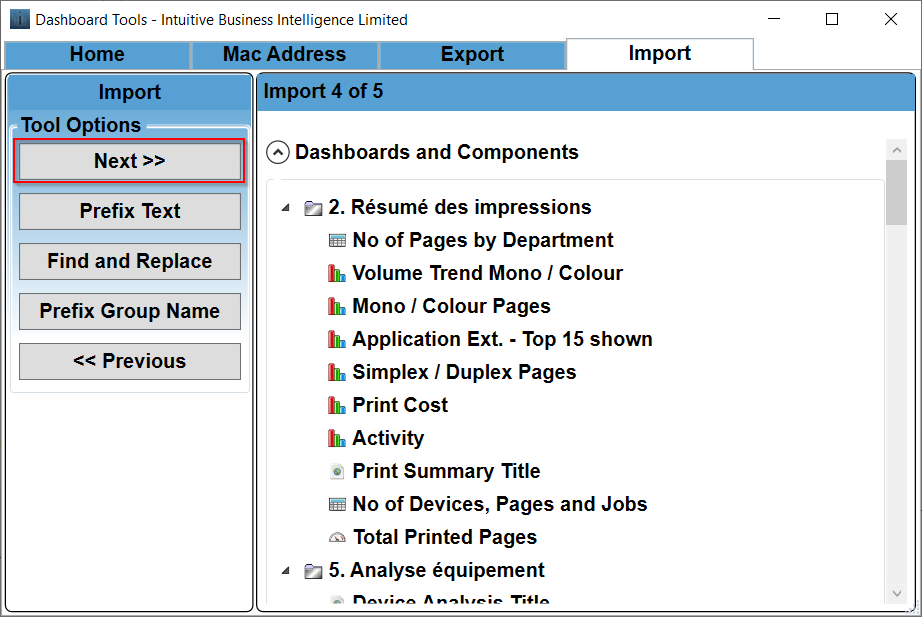
Import 4 of 5: Next

Import 5 of 5: Insert and wait to confirm
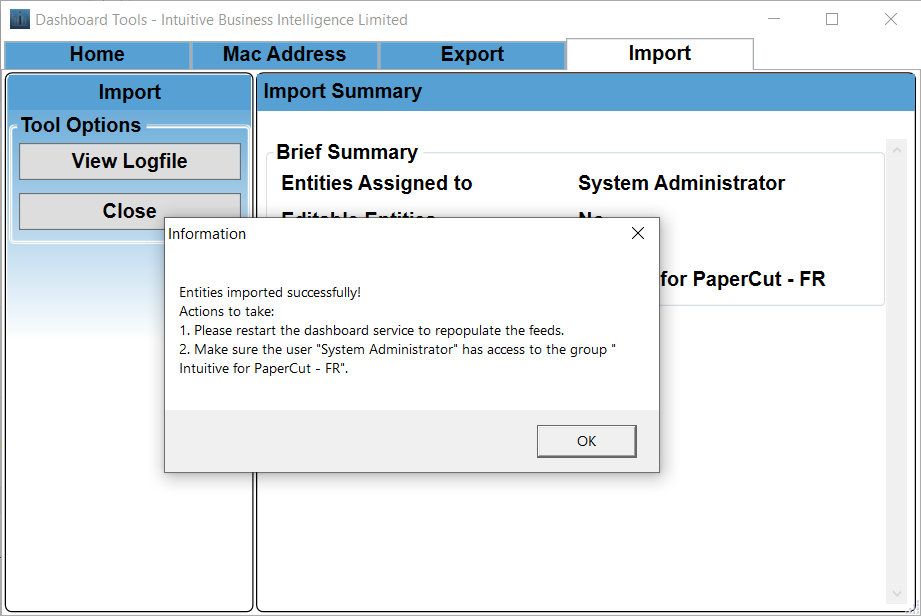
You should be presented with the message "Entities imported successfully" upon completion
Start the "Intuitive Dashboards Service" service
Login to your dashboard, and assign each respective user access to the new group name
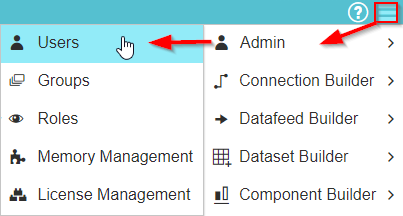
This can be performed by opening the Main Menu, going to Admin and then Users
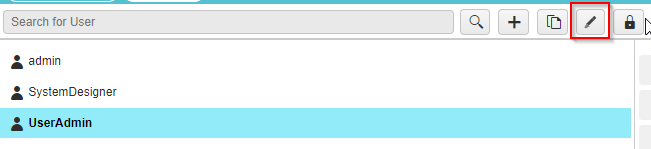
Highlight the target user and click the edit button

Check the box next to your group name, i.e. "Intuitive for PaperCut - FR" and save your changes
Optional:
Once your language pack has been added, you can remove the English/pound sterling dashboards should they no longer be required.
This can be performed by opening the main menu, then:
- Connection builder
- Delete Connection
- Find and select the connection titled "Intuitive for PaperCut V2.x " under Global
- Click OK
- Confirm that you'd like to delete the connection