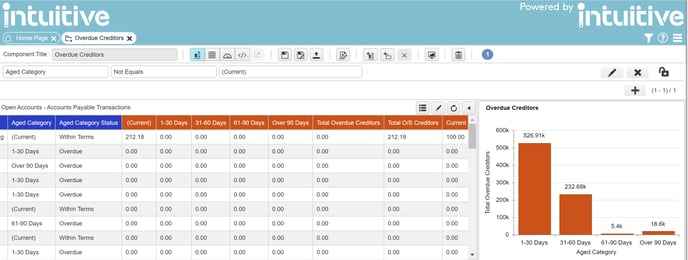
To filter a components data:
1 Click the filter drop down icon:
2 Select the add filter button: ![]()
3 Next you can create the filter using the following sections:
- Column:
This permanently sets the dataset column that this filter will be based on. - Operation:
For string values the operations are Equals/Not Equals and In List/Not In List.
For Numerical values they are Equals/Not Equals, Between/Not Between and Greater Than/Less Than. - Value(s):
Depending on the Operation selected determines what values can be selected for the filter.
4 Once the filter is complete, you can select the save ![]() icon and the dashboard will automatically refresh with the filter applied:
icon and the dashboard will automatically refresh with the filter applied:
5 To add more than one filter, this process can be repeated as many times as required.
6 Filters can be edited using the 'Pencil' icon: ![]()
7 Filters can be deleted using the 'red filter delete' icon: ![]()
8 Filters are automatically saved with the component when the component is saved.
9 Filters saved with the component are classed as permanent 'design filters' and can not be removed when viewing the component on a dashboard.
Note: Filters are not inherited by component drilldowns since this would no be appropriate in many cases. Therefore, each component drilldown must have filters set individually.
Once the component has been filtered it can be resized and then customised via the display options ![]() icon.
icon.