Saving a component
Once a component has been built to the required specifications, it can be saved in the user's personal unpublished group. Once saved, the component is available to add to a dashboard.
To save a component:
1 Select the Save icon:
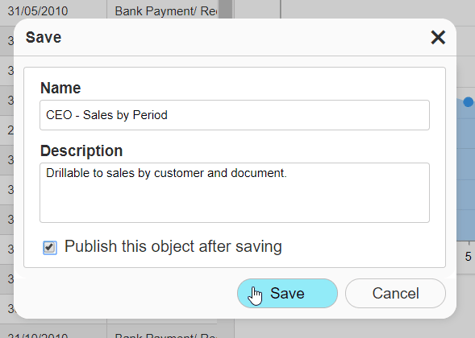
2 Enter a File Name for the new component. This name should be descriptive since it will be used to subsequently locate the component. Components are displayed Alphabetically within their published group so a strong naming convention will be helpful.
To save a component:
1 Select the Save icon:
2 Enter a File Name for the new component. This name should be descriptive since it will be used to subsequently locate the component. Components are displayed Alphabetically within their published group so a strong naming convention will be helpful.

3 Add a Description if required. This description will be available to dashboard designers when selecting components and dashboard viewers through the [Options]>[Data Description] menu
4 If you wish to publish the component immediately after saving, you can do so by selecting the tick box. Then select where you wish to publish the component.
5 To finalise the process, click the Save button.